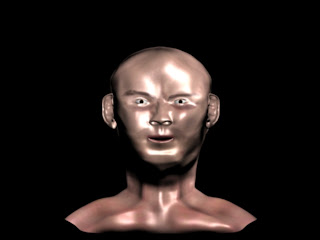
This was done by going back to photoshop and creating a specular map with the face map behind it, I would then desaturate the image and proceed to remove the edges of the picture, once this was done I then drew white lines onto the areas that would shine the most on my face, once this was down a gaussian blur was added that would blur the picture as not to make the shines to bright.
 This would then be added into 3DS max and added to the material already with the skin atached onto the "Specular map", this would give my face a glow to show were oily parts are.
Here is a render of the oil applied, I was a bit bright in this image but with a few tweaks the final image looks alot more realistic.

No comments:
Post a Comment