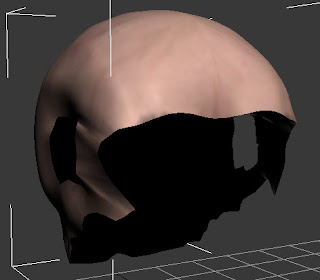
This can be found in the modify options, but before I get there I first had to select all the polygons that I would use to apply hair to, once all the polygons had been selected I held down shift and dragged them upwards along the Y axis, I then re saved this as a separate file then merged my head and hair parts back together, now I could apply the modifier.
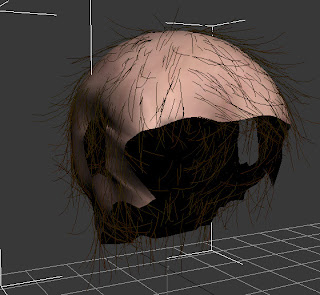
Here is the "skull cap" with and without hair applied.

 These brown lines are to indicate which polygons the hair will grow from.
To modify the hair I had to select the drop down menu for Hair and Fur and select guide, this allowed my to customize almost every aspect of the hair, how big the hair grew, the direction, if it was brushed or puffed up, using these different tools I managed to get a nice hair flow to mimic my own hair.
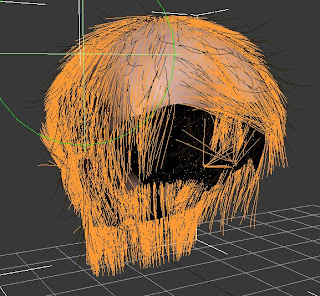
Here is what the hair looks like with guide applied.

These orange lines show the direction which the hair will grow in and the approximate size they will be, this was very useful for me as I have long hair, the green circle you see is the brush tool which allowed me to brush stray hairs back into position and position the hair into a nice shape.
No comments:
Post a Comment